This step shows how to set up two tags for a membership level: This allows you to define permission levels for content on your website.
You’ll need two tags per membership level – one tag to give access to a membership level and another tag to deny access to this membership level e.g. if you wish to deny access temporarily in the case of a missing payment.
Open the Tags Menu
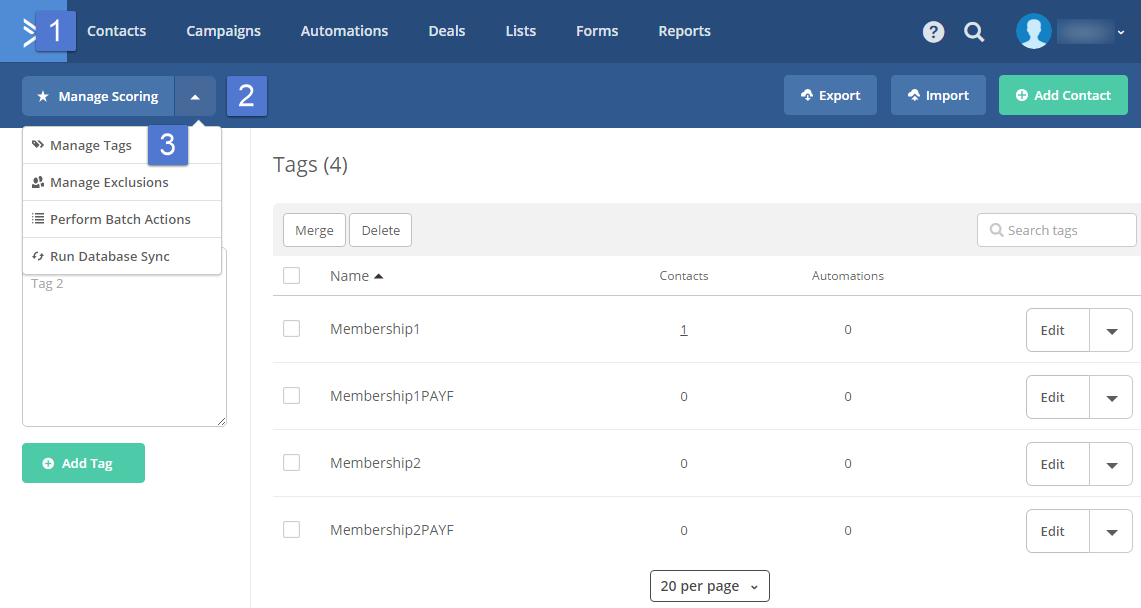
- Click on Contacts
- Open the pulldown menu
- Click on Manage Tags
Create Tags
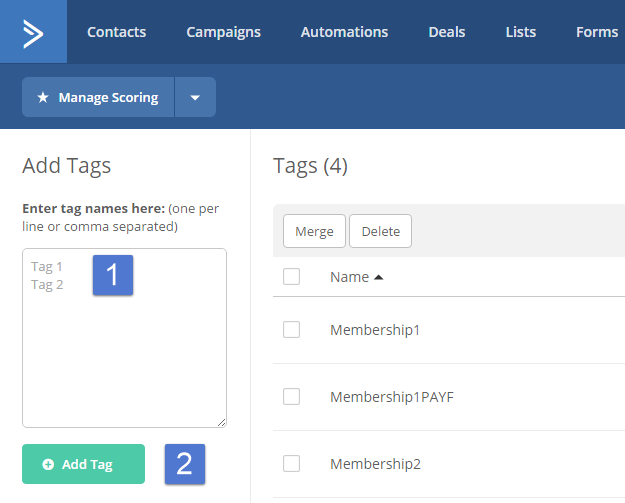
- Type in two Tag Names, one per line. It doesn’t matter how you name them
- Click on Add Tag
Note:
Remember to create two tags for each membership level as described previously.