How to create a checkout template:
Step 1
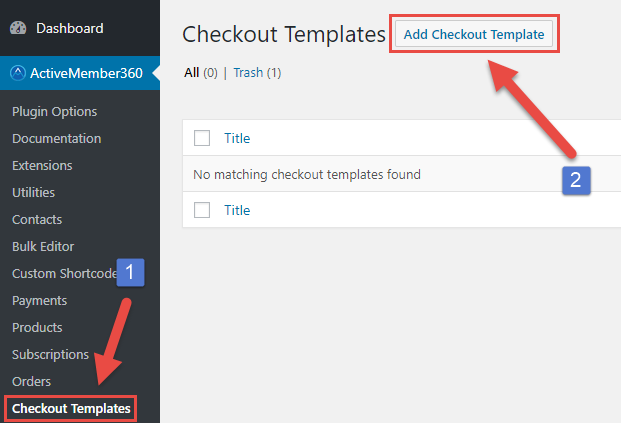
- Click on “Checkout Templates” in the ActiveMember360 menu in the left-hand menu sidebar.
- Click on “Add Checkout Template”.
Step 2
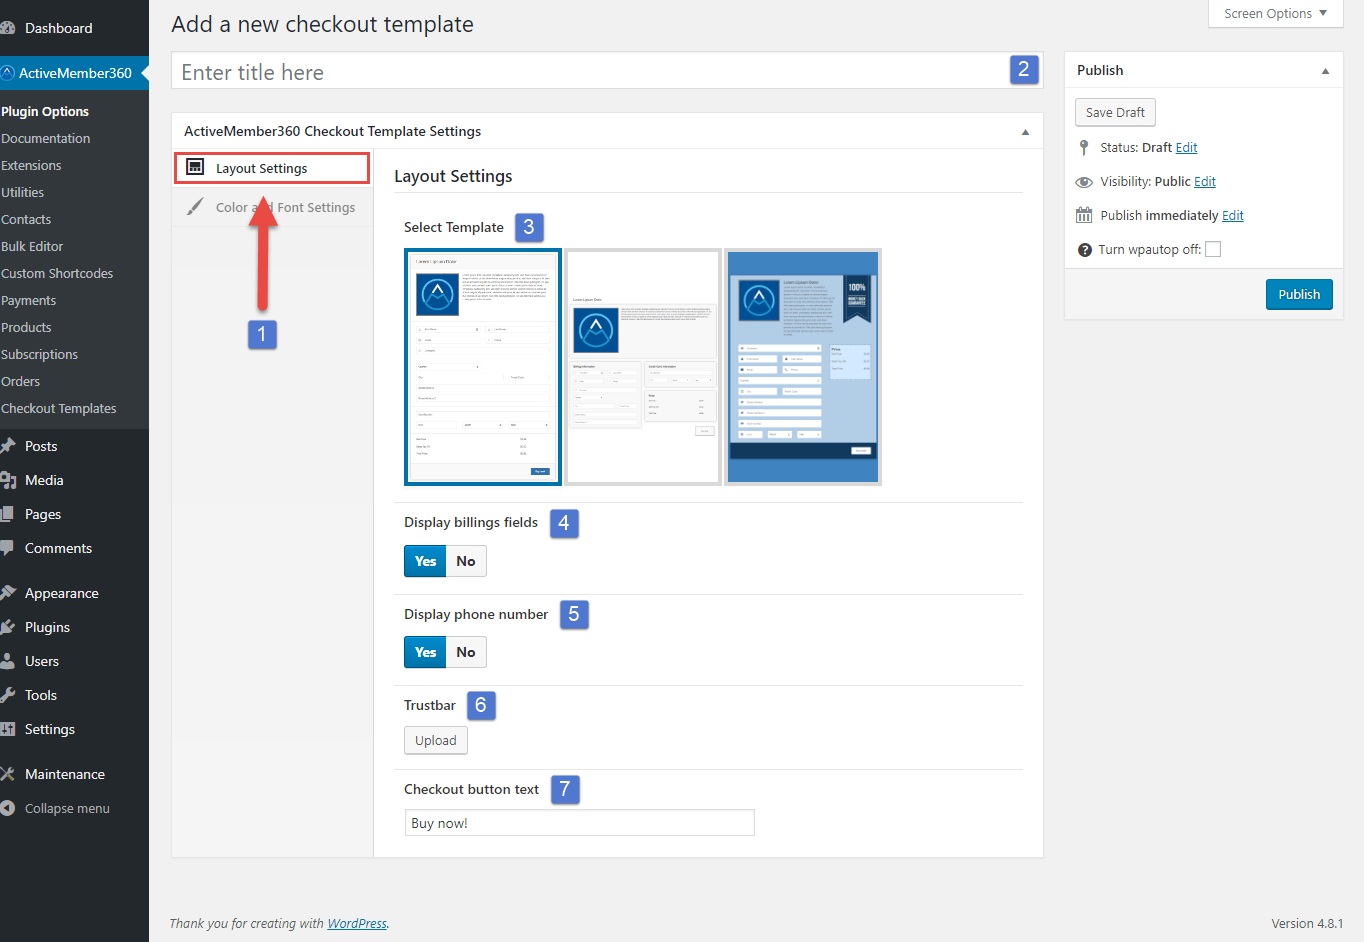
- Click on “Layout Settings”.
- Enter your checkout template name. This is just an internal title.
- Select one of the available templates.
- Choose if the “billing fields”, like street address, country and state should be on the checkout form.
Note, if you don’t ask for country and state, no sales tax can be calculated and collected as long as the customer is not logged in or if logged in but country/state is unknown. - Choose if the “phone field” should be displayed on the checkout form.
- Upload or choose a trustbar image if needed.
- Define how the “Buy now” button should be named.
Step 3
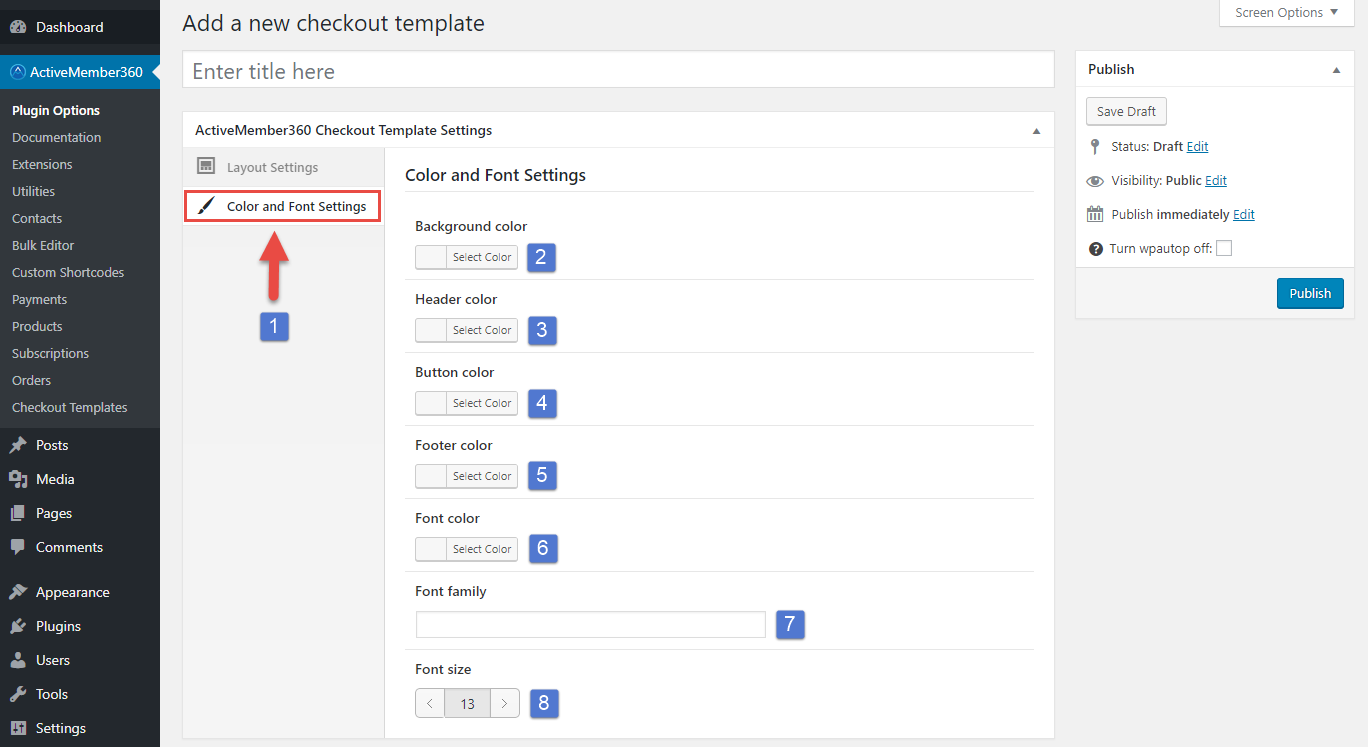
- Click on “Color and Font Settings”.
- Choose a background color to override the default of your chosen template. (Optional)
- Choose a header color to override the default of your chosen template. (Optional)
- Choose a button color to override the default of your chosen template. (Optional)
- Choose a footer color to override the default of your chosen template. (Optional)
- Choose a font color to override the default of your chosen template. (Optional)
- Enter a font family to override the default of your chosen template, like “Arial” or “Comic Sans MS”. (Optional)
- Choose a font size to override the default of your chosen template.
Don’t forget to save your changes!